These days, there are lots of ways you can add colorful light to your rooms, but most of them involve changing out standard lightbulbs with LED ones. If you’re looking for something that’s more of a cool accent light you can hang on your wall, you should definitely check out the Nanoleaf Aurora.
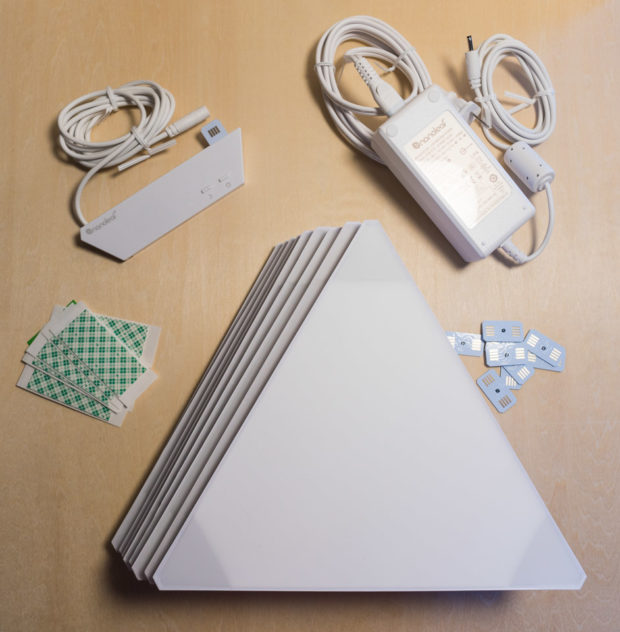
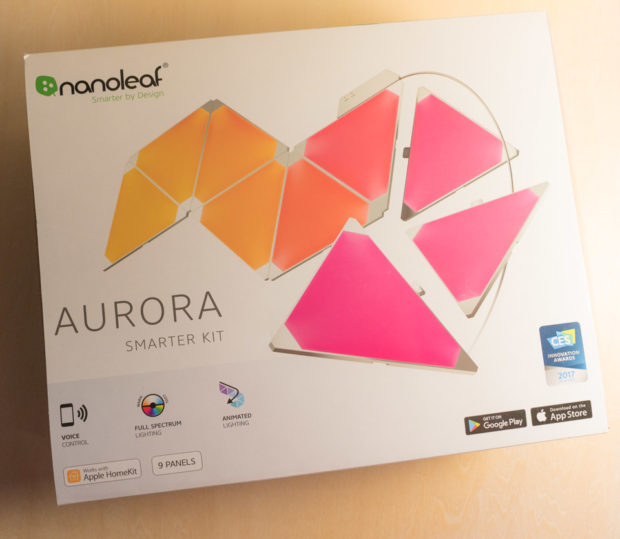
This modular system of LED light panels lets you create unique pieces of self-illuminating wall art. After seeing a set of these over on our sister site, The Awesomer, I decided to test out a set to see how they really work. Most people wanting to get started with the Aurora will want to go for the Aurora Smarter Kit, which includes nine light panels and connectors, a controller, power supply, and mounting tape.
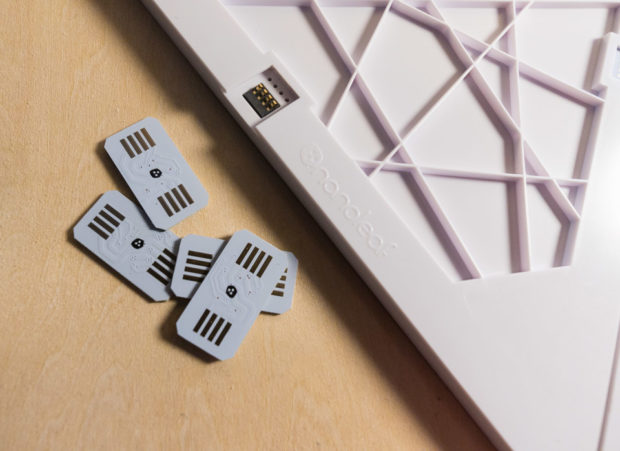
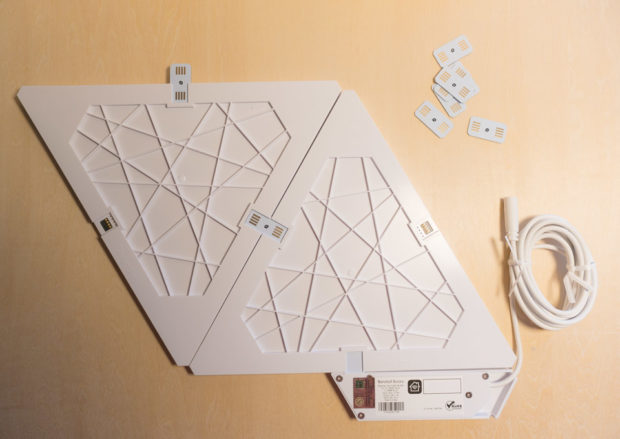
This kit should be enough to create a single wall light that’s about 2 to 3 feet across, depending on the design you go with. Since each light is triangular, you can snap them together to create a wide variety of shapes. Connecting the pieces is simple – just slide the connector into any side of the triangle, then slide another triangle onto the connector that’s sticking out.
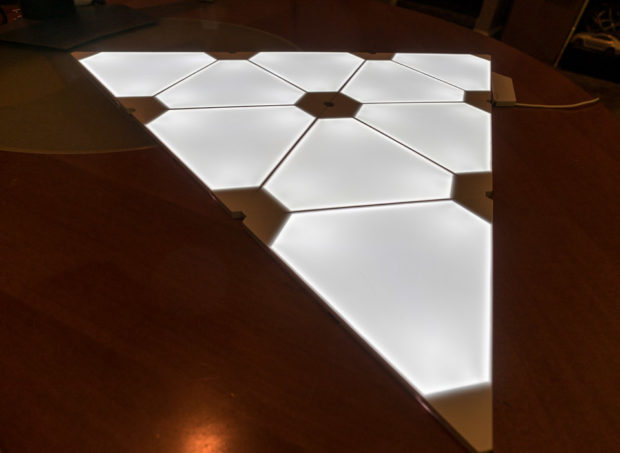
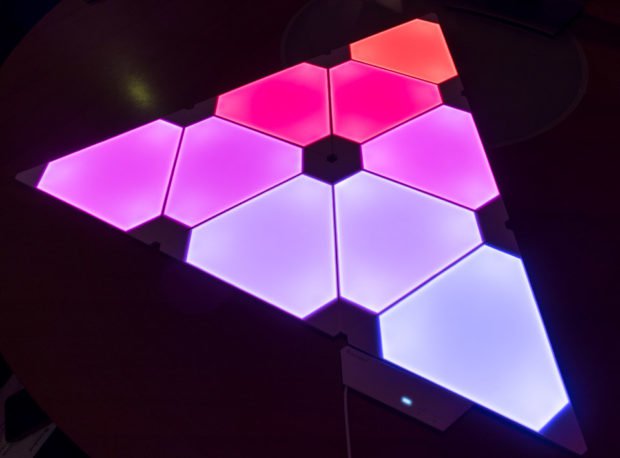
Once you connect the small controller module and plug that into the power supply, you can immediately verify that they work, as the panels first glow white, then go into a color cycling mode as a self-test. Unlike some other LED lights which use only red, green, and blue LEDs, these also have white, so they can create pure and bright white, pastel, and daylight colors – in addition to rich jewel tones.
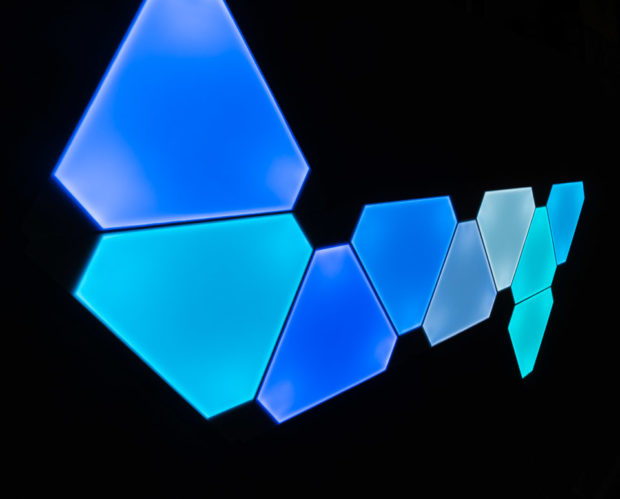
Note that the variance in color at the corners seen in the photos here isn’t really noticeable to the naked eye, and is a photographic artifact. In person, the light tiles all appear smooth and evenly colored from edge to edge.
It’s at this point that you’ll want to experiment with your design and lay it out on a tabletop before hanging it on the wall. I went through a few different designs before arriving at the pattern I decided to go with. The kit also includes nine triangular vellum tracing templates you can tack up on your wall, in case you’d like to test the layout on the wall before committing.
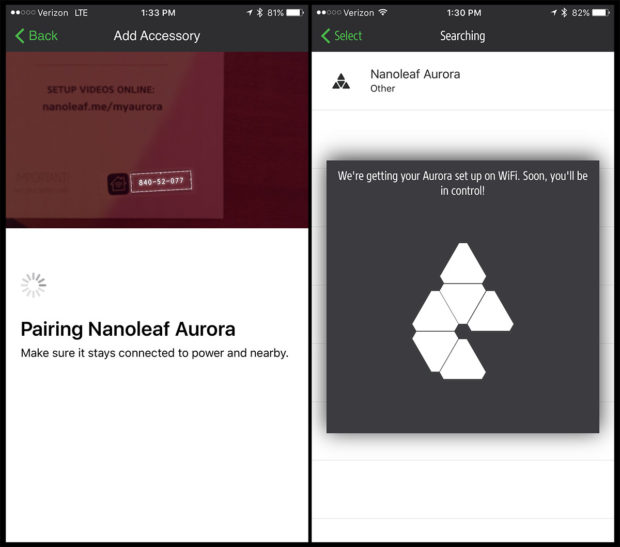
Before you hang the lights up, I also recommend pairing them with the companion app to make sure you can remotely control them. I used the iOS app, but there’s also a version for Android. It took no time for my phone to find the Aurora panels, but I learned the hard way that they don’t seem to like to connect to 5 GHz Wi-Fi networks, and it seems as if they automatically try to connect to whatever network your phone is on. That said, I recommend first connecting your phone to the 2.4 GHz side of your Wi-Fi router before attempting to connect the Aurora. You can switch your phone back to the other network once setup is done.
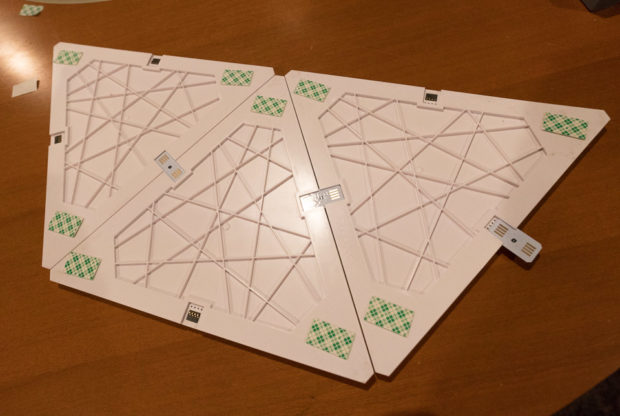
After connecting to the app, simply flip the tiles over, and attach the included rectangles of double-stick tape at each triangle’s corners, then start sticking the tiles onto the wall. I strongly suggest starting with a single tile and using a level to make sure it’s straight. After the first tile is placed, you can add them in groups of two or three. One thing that isn’t immediately clear is if the included mounting tape is easily removable. The online tutorial videos show the tiles using 3M removable Command strips, but that’s not what came in my box, so if you’re worried about pulling paint off of your wall if you ever move these, you might want to double-check with Nanoleaf support. Of course, you can always buy a pack of Command strips if you want to be sure.
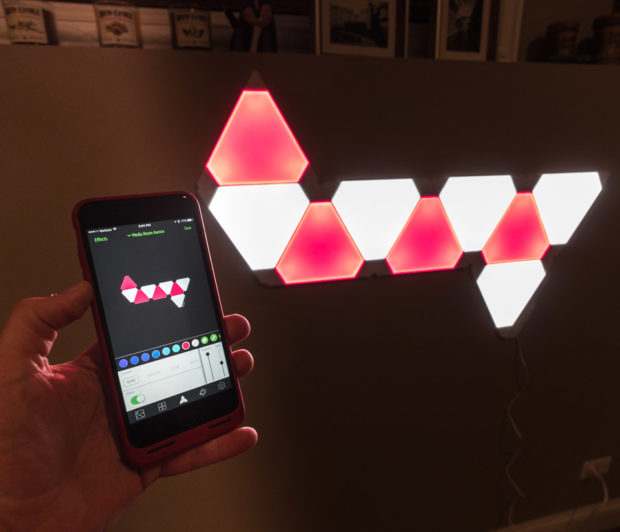
Here’s what my completed light sculpture looks like on the wall in my basement media room. I was going for a sort of abstract snake design – it reminds me of the classic video game on my old Nokia phone.
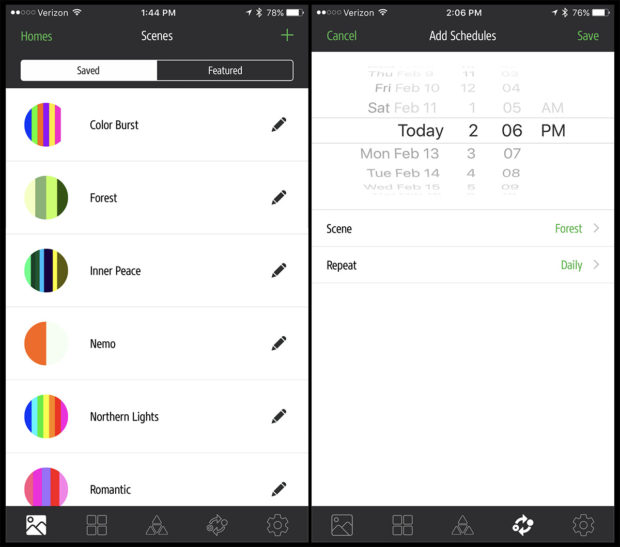
The companion app works well, allowing you to choose from a selection of pre-built color schemes and animations, and you can also make your own.
There are several different animation patterns, and the app is smart enough to automatically understand the configuration of your tiles based on how they’re connected together. This makes drawing out new color schemes super simple.
The app also allows you to schedule presets, so you can use it to set the lights to go on as a visual alarm of sorts, or to automatically set the mood for different times of the day.
It also supports multiple rooms and multiple Aurora kits, and is fully compatible with Apple HomeKit, which provides for centralized control of other smarthome devices, as well as voice control via Siri. It also works with Amazon Alexa. Both voice integration features worked without a hitch for me, though I prefer controlling things via Alexa.
While the $199.99 Starter (er, “smarter”) Kit comes with nine panels, you can purchase additional panels in sets of three for $59.99. Since a single Smarter Kit can power up to 30 Aurora panels, you can create much larger and more complex artworks than the one I ended up with on my wall.
The Nanoleaf Aurora Smarter Kit is available from Best Buy, the Apple Store, MoMA, and direct from Nanoleaf.

